

Epi Info™ User Guide - Companion for Android
 ShareCompartir
Epi Info™ User Guide
Collecting & Analyzing Data on an Android Device
Collect Data on Mobile Device
- Mobile Companion
- Text Fields
- Numeric Fields
- Date Fields
- Time Fields
- Drop Down Lists
- Checkbox Fields
- Image/Photo Fields
- Capture GPS Coordinates
- Save Record
- Edit Record
- Delete Record
- Search Record
- Maps
Mobile Companion
Access the mobile companion titled Epi Info™ from your device’s application list. Note that the application layout is different between a large tablet and a phone. The screen will appear in a portrait format on a phone and landscape format on a large tablet.
Figure 6.8: Mobile Home screen
- The Epi Info™ Mobile main menu appears.
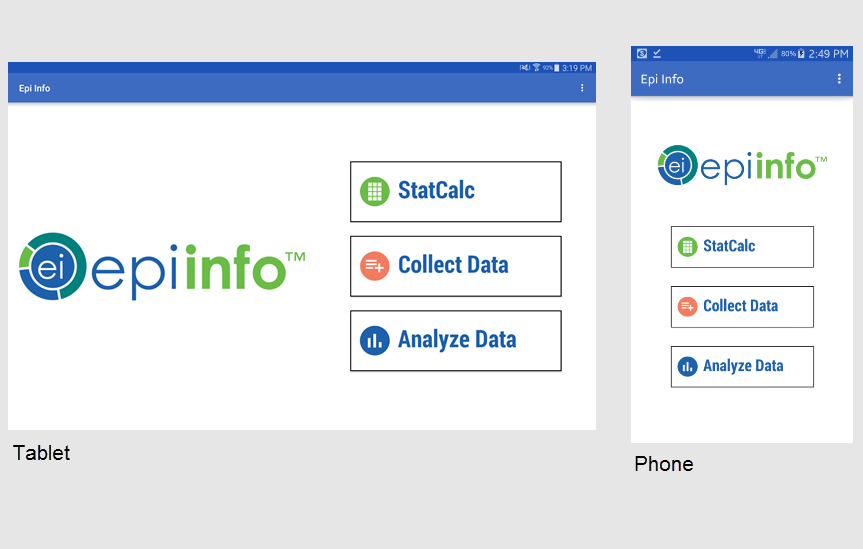
Figure 6.9: Epi Info™ Mobile main menu
- Select Collect Data. Click on the triangle on the right hand corner to see a list of available forms. Select the form for data collection from the drop-down list by pressing on the form name.
- Click Load.

Figure 6.10: Available Forms drop-down list
The Collect Data page appears with a list of all records contained on the mobile device for that form. If there are no records, the record list displays <No Records>.
- To create a new record, select Add New Record or + from the top right corner of the screen.
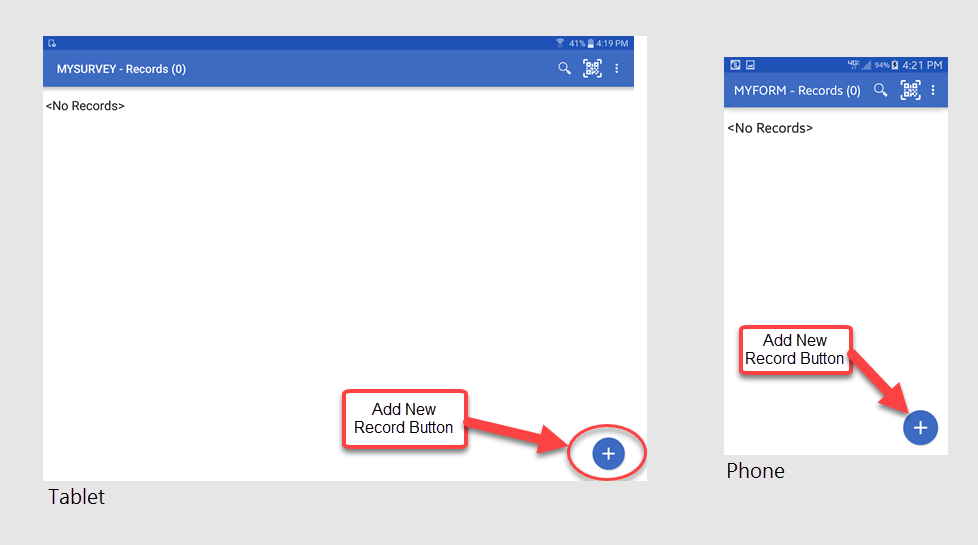
Figure 6.11: Collect Data main menu
The form appears on the mobile device. Fields appear vertically on a phone while the tablet can display fields horizontally. Users can slide their fingers across the screen to move around the form and tap into the desired field in order to enter data.
Note: Please make sure to check that the date format of the device matches the date format of the PC. Date formats must match between Android device and PC when data is being imported into the central Epi Info 7 database. You can check the date format being used by the device under the Settings>Date and Time>Select Date Format option.
Note: Always navigate using the back button instead of the home button. Use of the home button can cause cache issues that will lead to malfunctions.
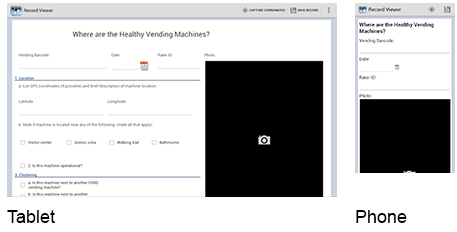
Figure 6.12: Mobile Form View
Text Fields
This field allows open text characters. In order to enter data, tap into the field. A keyboard will be displayed to the user in order to enter data. Once data has been entered, click Done.
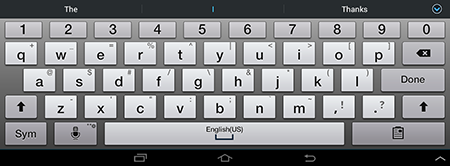
Figure 6.13: Keyboard for Text Fields
Numeric Fields
This field allows numerical values. In order to enter data, tap into the field. A keyboard will be displayed to the user allowing only numbers and decimals to be entered. Once data has been entered, click Done.
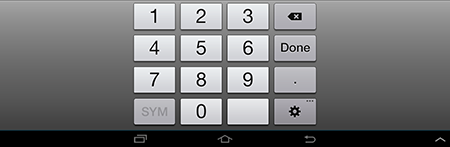
Figure 6.14: Keyboard for Numeric Fields
Date Fields
Date fields can be entered by clicking the calendar icon located next to the field. The user can then select a value for each of the data elements (month,day,year). Once data has been entered, click Done.

Figure 6.15: Calendar Icon for Dates
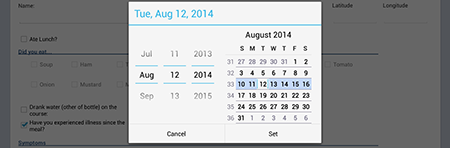
Figure 6.16: Calendar for Selecting Dates
Time Fields
Time fields can be entered by clicking the clock icon located next to the field. The user can then specify a value for hour and minutes. Once data has been entered, click Done.
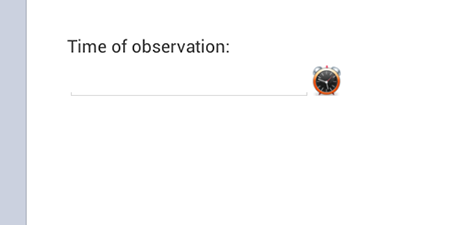
Figure 6.17: Clock Icon
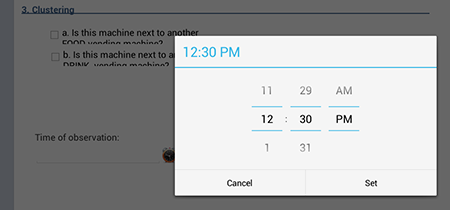
Figure 6.18: Time Selection Screen
Drop Down Lists
This field type provides a list of possible values in response to a question therefore limiting the number of options to use. Initially this field will present the user with the prompt <Not Selected>. Tap into the field and select the desired response.

Figure 6.19: Drop Down Lists
Checkbox Fields
The Checkbox field allows you to collect data by checking or unchecking a box. Multiple checkboxes can be used to quickly enter responses that are consistent in the study (e.g. symptoms or foods eaten). Checkbox fields collect binary data such as 0 or 1, True or False, Yes or No. The response is stored in the database as a 1 or 0 where 1 equals Yes and 0 equals No. Checkbox fields do not contain missing values. They are considered to be “No” until they are checked. The following figure provides an example of how Checkbox fields appear on a mobile device.
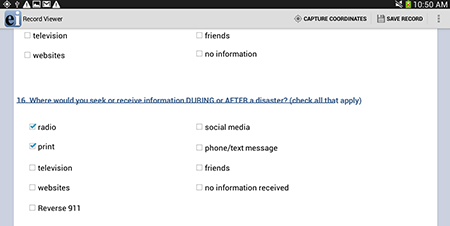
Figure 6.20: Checkbox Fields
Image/Photo Fields
The Image field will appear as a Photo field on a mobile device. This field allows the user to insert pictures taken with the mobile device onto the form. The photos taken will always stretch to the field shape that appears on the mobile device. The retain image size feature in the Image Field Definition dialog box will not affect the Photo field’s functionality. When inserting Image fields, adjust the field size to the anticipated aspect ratio of the mobile device.
- To add a picture to the form, select the Photo field. The mobile device’s camera function automatically opens.
- Take the photo (process varies depending on the mobile device).
- Select Save. Epi Info™ inserts the photo into the Photo field.
Photo fields will appear as the same size regardless of layout on the PC version of Epi Info™ when using a phone.
Capture GPS Coordinates
If the mobile device is connected to the internet, latitude and longitude coordinates can be captured by selecting Capture Coordinates, located in the top right corner of the screen. Select the field containing the latitude coordinates from the Select latitude field drop-down list. Select the field containing the longitude coordinates from the Select longitude field drop-down list. Select Set.
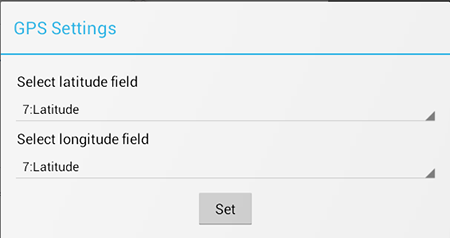
Figure 6.21: GPS Settings
The coordinates appear in the latitude and longitude fields.
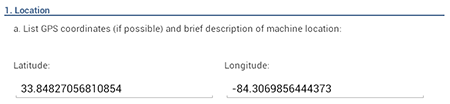
Figure 6.22: Latitude and Longitude Coordinates
Save Record
To save the form, select Save Record in the top right corner of the screen. An incomplete form can be saved and finished at a later time. The data is stored with a Record ID and Preview information.
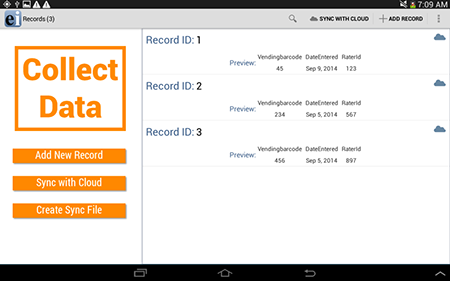
Figure 6.23: Record List
Edit Record
Select the record you wish to edit from the Record List. The form appears on the device and is ready for editing. At any point, select the Save Record button to save the edited record.
Delete Record
Hold down on the desired Record from the Record List and a menu will appear. Select Delete.
Search Record
To search the Record list, select Search in the top right corner of the Collect Data menu. The Epi Info Record list (top left corner of the screen) becomes blank with a blinking cursor. The Search function allows records to be located based on a series of matched variables. Type in the search criteria and press the search button. The records that match the search criteria appear in the record list. When searching for a record, you will need to specify the fieldname, the = operator, and then the value. If you are searching for a text field, use single quotes around the value being searched. For example PATIENTNAME=’Walter’ if you are searching for “Walter” as the patient name in your tablet.

Figure 6.24: Syntax for Search text field
You can use the AND or the OR operator to use more than one variable in your search criteria. If you are searching for a date or numeric field, simply type the value to be searched (i.e. DOB=06/12/1999 or AGE=35) without using any quotes.
Maps
The Maps feature allows users to geographically display case data on a map. The mobile version contains the ability to plot GPS coordinates on a Google Map base map. Internet connectivity is required to display maps on your mobile device using Google Maps. For additional mapping functionality, transfer the data to a computer and use the Epi Info™ Maps tool (See Maps).
- Select Generate Map from the Collect Data menu or the options menu. Generate Map is only available through the options menu on a phone. A Map Settings dialog box appears.
- Select the field containing the latitude coordinates from the Select latitude field drop-down list.
- Select the field containing the longitude coordinates from the Select longitude field drop-down list.
- Select Set.
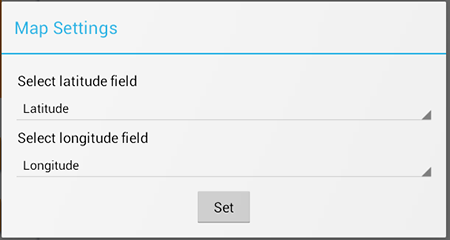
Figure 6.25: Maps Settings
The map appears displaying the location in Google Maps.
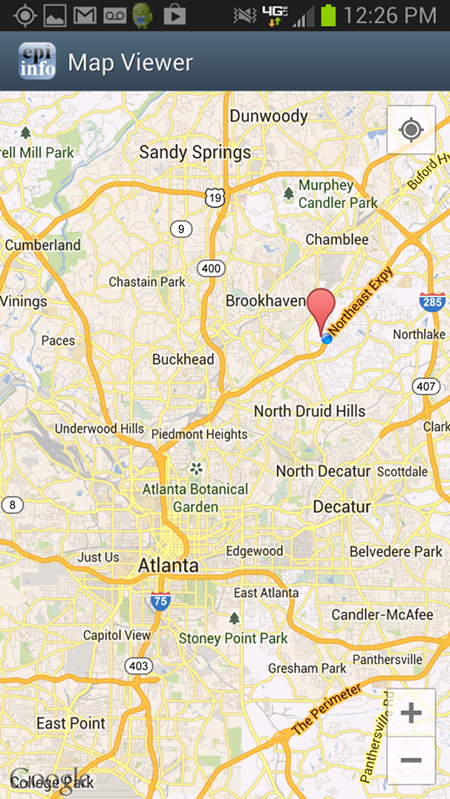
Figure 6.26: Maps
- Page last reviewed: June 27, 2017
- Page last updated: June 27, 2017
- Content source: